【Android Studio】リストを表示させる
リストを静的に表示させる
”静的に”とは
「あらかじめ決まっている内容をリスト表示させる」こと
①表示させる内容を「strings.xml」にsting-arrayとして定義
<string-array name="list_items">
    <item>項目1</item>
    <item>項目2</item>
    <item>項目3</item>
    <item>項目4</item>
    <item>項目5</item>
</string-array>
今回はConstraintLayoutにリストを配置する
「android:entries」要素に先ほど定義したstring-arrayを指定する
<ListView
        android:layout_width="match_parent"
        android:layout_height="wrap_content"
        app:layout_constraintEnd_toEndOf="parent"
        app:layout_constraintStart_toStartOf="parent"
        app:layout_constraintTop_toTopOf="parent"
        android:entries="@array/list_items"/>
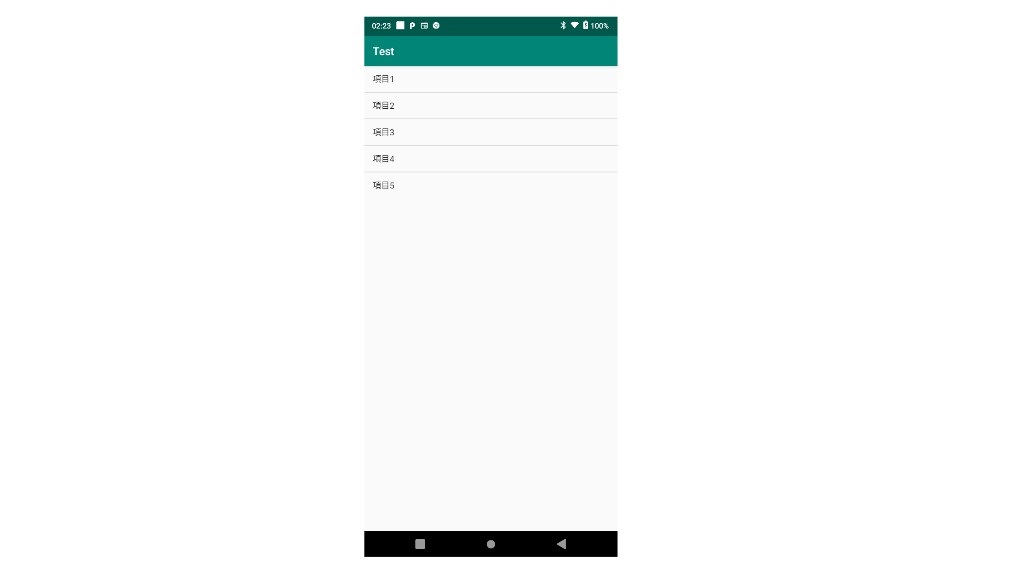
実行。
リストを動的に表示させる
動的にとは「場合によって変わる内容をリスト表示させる」こと
先ほどと違い、android:entriesには何も指定しない。
その代わりandroid:id属性を指定して、処理クラスで受け取れるようにしておく
<ListView
        android:id="@+id/lvList"
        android:layout_width="match_parent"
        android:layout_height="wrap_content"
        app:layout_constraintStart_toStartOf="parent"
        app:layout_constraintTop_toTopOf="parent" />
実際に表示する値は、アクティビティクラスに記述する
class MainActivity : AppCompatActivity() {

    override fun onCreate(savedInstanceState: Bundle?) {
        super.onCreate(savedInstanceState)
        setContentView(R.layout.activity_main)

        //ビューの取得
        val lvList:ListView = findViewById(R.id.lvList)

        //表示する文字列を格納したMutableListを用意
        val itemList = mutableListOf("項目1","項目2","項目3","項目4","項目5")

        //アダプターを作成。
        val adapter = ArrayAdapter(applicationContext, android.R.layout.simple_list_item_1,itemList)

        //ListViewのadapterにセット
        lvList.adapter = adapter
    }
}
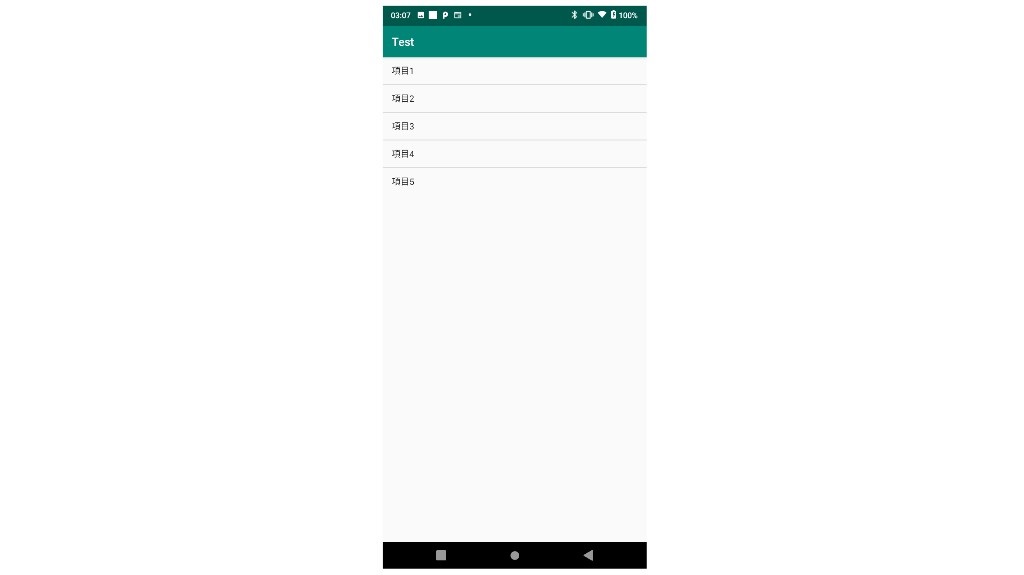
実行。
リストの値を変更してみる
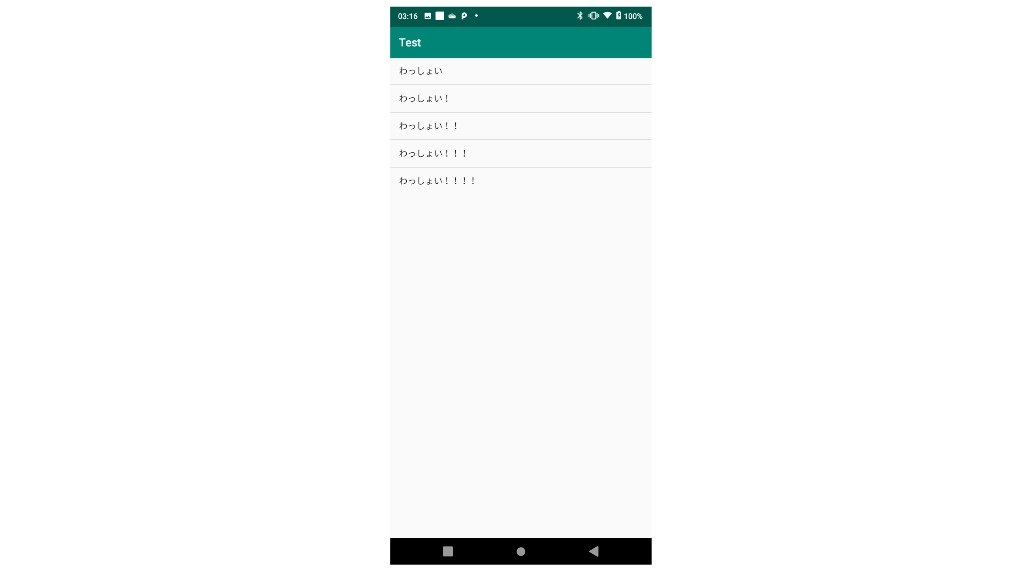
表示内容を定義したMutableListを書き換えればOK。
override fun onCreate(savedInstanceState: Bundle?) {
        super.onCreate(savedInstanceState)
        setContentView(R.layout.activity_main)

        val lvList:ListView = findViewById(R.id.lvList)
        val itemList = mutableListOf("わっしょい","わっしょい!","わっしょい!!","わっしょい!!!","わっしょい!!!!")

        val adapter = ArrayAdapter(applicationContext, android.R.layout.simple_list_item_1,itemList)
        lvList.adapter = adapter
    }

静的リストの場合は、表示リストの変更や追加にはstrings.xmlの編集が必要です。
動的リストの場合は、MutableListの要素を増やしたり変えたりすれば、連動して表示リストも追加・変更されます。
Adapterとは
動的リストにデータをセットするとき、Adapterというものを使用しました。
これは、リストビューに表示するデータを管理し、各行にそのデータを当てはめていく働きをするオブジェクトです。
アダプターオブジェクトを生成するには「Adaperインタフェース」を実装したクラスを利用します。
よく使うものはデフォルトでいくつか定義されており、先ほどの例で使用したArrayAdapterもその一つです。
これはリスト1列につき1行の文字列を表示するもので、元になるデータはArrayまたはMutableListです。
これ以外にもSimpleAdapterやCursorAdapter、BaseAdapterなどがあります。
BaseAdapterは継承することで独自のadapterとして使用できます。